Cadwell Park Photographic Guide
Address: Cadwell Park Circuit, Louth, Lincolnshire, LN11 9SE
Telephone: +44(0) 1953 8873038
Email cadwellpark@msv.com
Website: https://www.cadwellpark.co.uk
Cadwell Park Photographic Guide Updated 21 June 2024.
Cadwell Park is a motor racing circuit in Lincolnshire five miles south of Louth and is one of my favourite places to take automotive photographs.
Cadwell ticks most of the boxes for me and is one of the few circuits that you can get close to the racing and which doesn’t have much safety fencing in the way. This is great news for those automotive photographers who don't own that long expensive lens.
For the less physically able, its only a short walk from the car park at the bottom of the Mountain to the action. On smaller events, you are able to drive round the access road and park up next to the track and watch the action from your car.
Kit requirements for this track are a DSLR with a lens that can reach out to 300mm. A telephoto zoom will work well for this track as a lot of the images you could take will be in the sub 200mm range. The gold plated kit solution would be a 70-200mm 2.8 a 300mm prime with a telephoto converter or a super zoom in the 200 - 500mm range.
The photographs were taken at the 2017 and 18 British Super Bikes (BSB), various Club meetings and the Alan Healy Memorial Rally 2018. The 2021 - 22 update images mainly cover areas F - L and were taken under Covid restrictions.
The Rally cars you will notice are heading in the opposite direction to all the other pictures. This is because the Alan Healy Memorial Rally had 6 stages using on and off road parts of the circuit, so it's well worth buying a programme which will have all the stage maps for events like these.
The main carpark is to the north of the map. Once you have parked up, follow the road to the circuit and you will pass the paddock; more on this area later. Keeping the paddock on your back head towards the Café.
The picture below is taken from a 1960s Cadwell Park program, the track hasn't changed much.

Credit original image Motor Cycling with Scooter Weekly
Café
Standing in front of the Café gives you a great view of the circuit. To the right is the holding area where the competitors enter the track. New for the 2024 season is the Mountain Pavilion with views of the track from individual verandas to the rear. This will be for VIP guests only at large events and should have great views of the Mountain to Hall Bends, it is also used for administration at Club meetings. The holding area is directly in front of it.

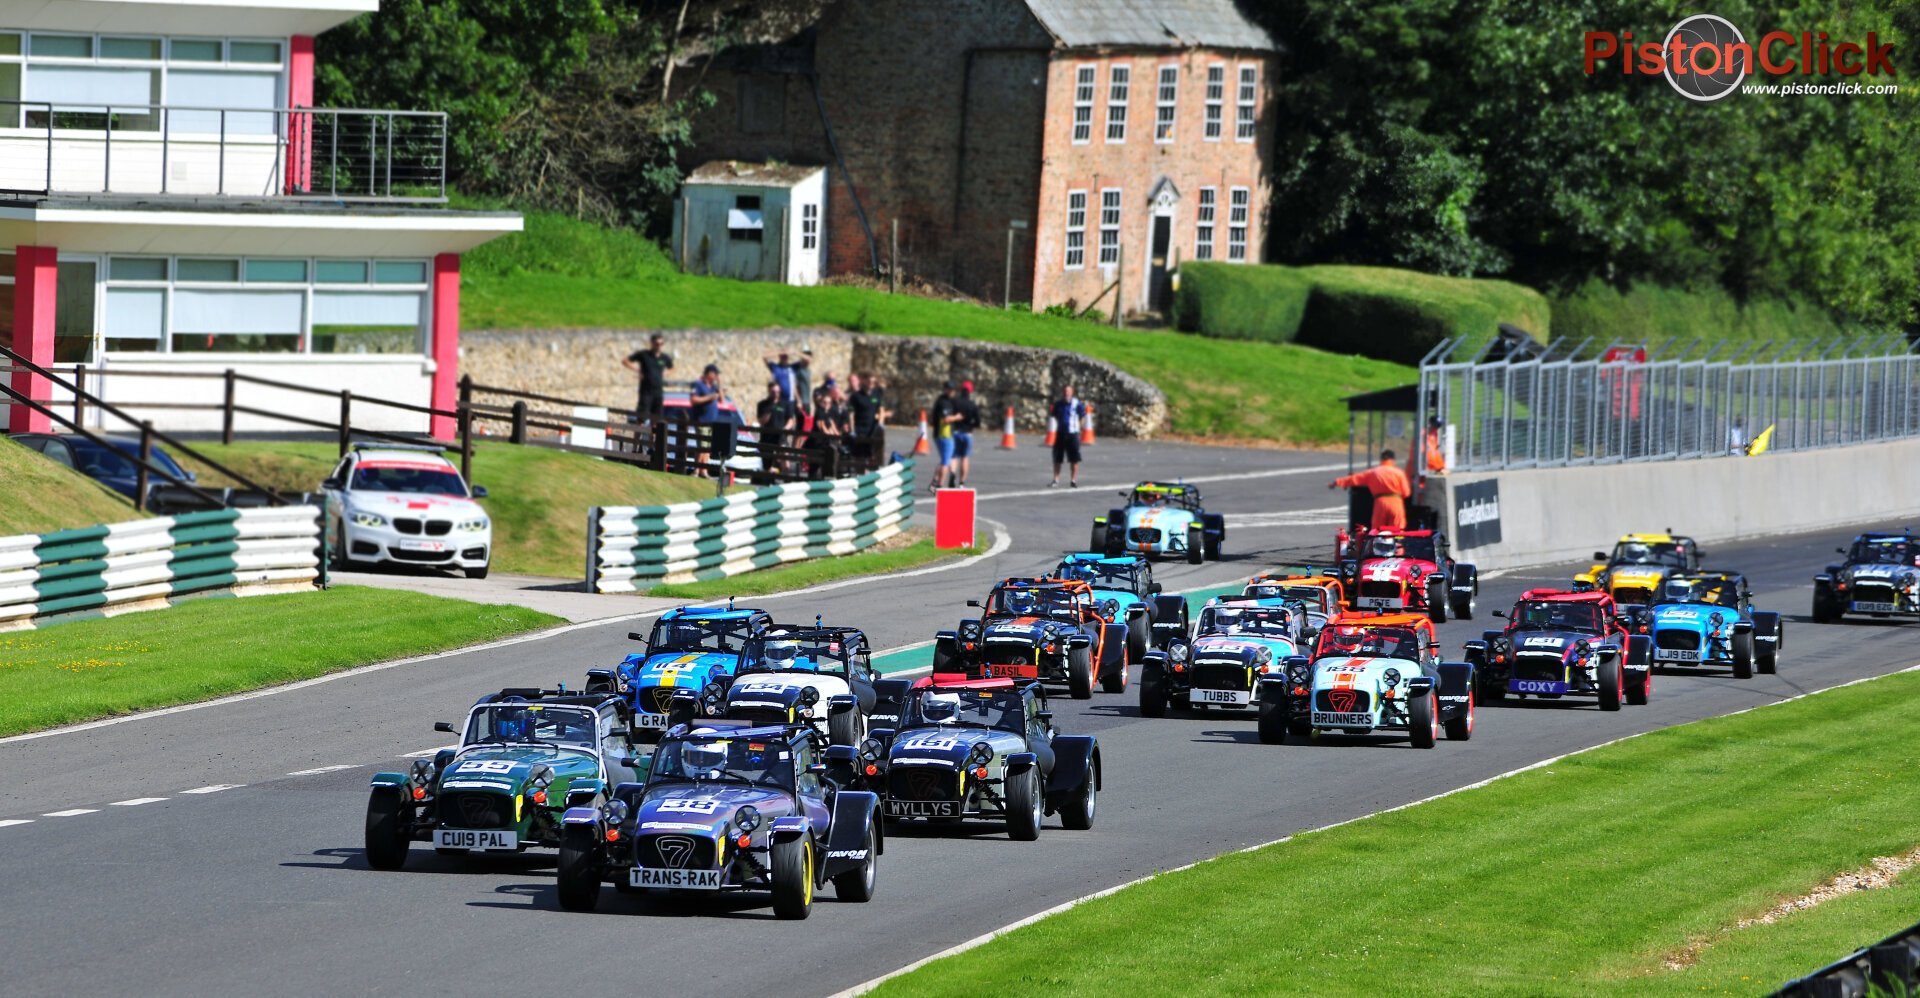
In front of the Cafe is a great spot to start the days photography. On the warmup lap the vehicles will be heading straight at you in a pack.


Once the racing starts move to your left which is Hall Bends. In this area you will be really close to the action, with some challenging lighting in a wooded area. If it’s a motorcycle event the riders will be leaning in towards you so you can get some great shots. However, during the COVID 19 lockdown a spectator safety fence was erected in the first bend so the photos shown below will be challenging to get, they were taken pre-fence.

A long lens is not required here. A kit lens (18-55mm) will work but the standard motorsport 70 - 200mm is recommended. There are loads of different shots you can get just in the first few bends.

There are two standard shots everyone who has visited Cadwell grab here. The first is on the apex of the very first bend but as there is now a safety fence here the images will not be as crisp as you will be shooting through some quite thick wire.
The second is further down shooting nearly head on. You will need a fast shutter speed here and the reactions of a cat as the riders will appear at speed. A standard motorsport 70 - 200mm is recommended here.


The Mountain is where you will get those great pictures of motorcycles in flight. The best area is the first few rows on the left hand side of the second grandstand. On a big race day like BSB, you have to pre book a seat and you wont be able to stand so your pictures are going to be limited.

When you have got your picture, move out of the grandstand and give someone else a chance and head towards number C on the map, the bottom of the mountain. From here you have a good view to your right as the riders are leaning over at crazy angles coming round the bend. Looking straight ahead is another of those must have photo opportunities.

From this angle you will capture the take off at the top of the mountain from a different viewpoint to add a little variety. If you have a lens with the reach, head up the bank behind you or to your left as you will be almost level with the bikes and some light cars as they launch.
The corner before the mountain allows you to get close to the action, no need for that long lens here unless you are going for a close up or shooting through the small fence, a step is a better idea as the fence is not too high. The rest of the corner has a low fence that you can shoot over looking down in the action.
Next we will move to area D. Anywhere up to the bridge will be ideal for those great panning shots.
This should take you up to lunch so head back to the paddock area where you will find various fast food stalls or you can go to the Cadwell Clubhouse restaurant for a sit down meal.
Our next area is E. Nothing too exciting here at first glance. You are looking down on the action so the background is a little boring, just tarmac. However, a traffic cone chicane can be located here so you might get a few cars smoking their tyres locking up. The best shot from here is across the track. I never see anyone posting pictures from here, is it just me that likes them?
It’s a moderately difficult shot to get. You will need a superzoom, a steady hand and a good panning technique.
Again this area (Mansfield) is not used much by photographers; many of the events I've been to I'm the only guy there. Looking down you can get some nice shots as the riders hit the apex adding a bit of colour. It's also a good overtaking spot.
Area G, the Gooseneck, is a fast wide right hander flowing into a tight left. You can pick up a few nice shots from the entrance to the corner but you are a fair way from the action. There is a good shot here that gets you a little closer on the apex of the bend before it goes down the hill.
Getting closer to the action is an option here but the corner is hidden from view depending where you stand. The best action is from the down hill section, this is a blind corner (for you) so the racers will appear quickly.
The best location is past the Gooseneck towards Mansfield shooting back up into the last corner. Here, you will need a long lens and being just that bit further away gives you a few extra seconds to pick up the action
Running wide here is not uncommon, and racers out-braking themselves into Mansfield can have you spinning around so it's a great location for action shots.
Moving up to area H Chris Curve you are getting much the same type of shot as Area G except the riders will be hitting the apex. This long bend is notorious for the drivers going wide so be prepared.
Park Corner. As you are going to be walking round the back of the track, which is quite a distance, head back to your car and drive round.
This plan also has the added benefit of being able to grab a snack and drinks from your car. You probably won't be able to do this during a large event, but for practice days and club level events you should be fine.
You can shoot through the fence here looking back down the Park Straight. Long lens, wide aperture and as close to the fence as you can and the fence will just about disappear.
Or move past the fence toward Park Straight for the braking / panning shot.
The Park Straight is great for panning, in the afternoon the sun is to your back and your panning shots from here will really pop.
Charlies. Only the dedicated make it round here but the results can be dramatic with the right light. You are some distance from the track but use that to your advantage. These shots were taken in the afternoon, the background here makes this shot.
Charlies is a long uphill fast sweeping double apex right hander dropping down to the Park Straight. You are some distance from the action here so a superzoom with a focal length of over 500mm is required and then you will have to crop to get a well framed shot.
There are two large safety fences with thick wire at the apexs but you can get usable shots through them. I don’t shoot through the fence line here as a rule as there are a few good fence free locations, the first is at the crest looking back to area L Coppice. This is a great place to capture the first lap as the racers will be head on.
As they turn into the first apex the track can be obscured so a step is recommended to but not vital. You can get a good shot uphill towards the first apex.
In-between the two fences is another good location however, the marshals will park opposite so to get a clean shot you will need to pick your location carefully. There are a lot of marshals around Charlies as it is a bit of an accident hot spot.
Moving to the start of the last fence before the Park Straight, you can shoot back into the first apex. This is a great location for motorcycles as the riders will be tipping into the corner for the second apex.
If you are lucky enough to get a bright sunny day I would recommend shooting here in the afternoon as the light will be behind you. Moving down to the end of the fence on the Park Straight you can shoot uphill to the second apex. You are some distance from the action but if you time it right, a few good shots can be gathered here before moving on.
Coppice and the Start line can be accessed from Area D if you want to bypass E-K. From here you can get limited shots of the race start. You can shoot back over to the mountain from the start line side of the grandstand.
As Coppice is a small wood some arty shots can be had but the riders are flat out here, stand well back and use a long focal length lens.
As Coppice straightens out a nice head on shot can be had half way up the hill towards Charlies.
The Start line. From this angle there is a lot of race track furniture in the way of the race start. From here you can get limited shots of the race start. I'm not a fan of this shot but it’s the only place you can access the riders on the grid. Watch out for the starter on the gantry.
However, you can get close up to the front row on club days. On major events this side of the track is packed with spectators and not many photographers as you are limited to only a few different types of shots.
Having said that the classic champagne shot can be captured here with a long lens. The image below was taken of the building in the top left of the picture above.
That concludes my walk around Cadwell. If you have any feed back on this article or would like to do a write up on your local race circuit, Motocross track, drift event or anything automotive, send us an email with the details.
If you have enjoyed this write up please follow us on our Facebook page for the latest updates.


